读书笔记《hands-on-full-stack-development-with-spring-boot-2-0-and-react》为我们的Spring Boot REST风格的Web服务设置前端
本章解释了开始开发前端部分所需的步骤。我们将首先定义我们正在开发的功能。然后我们将做用户界面的模型。作为后端,我们将使用 第 4 章中的 Spring Boot 应用程序,Securing和测试你的后端。我们将使用后端的不安全版本开始开发。最后,我们将创建我们将在前端开发中使用的 React 应用程序。
在本章中,我们将看到以下内容:
- Why and how to do a mock-up
- Preparing our Spring Boot backend for frontend development
- Creating the React app for the frontend
我们在第 4 章中创建的 Spring Boot 应用程序, 保护和测试您的需要后端。
应该安装 Node.js 和 create-react-app。
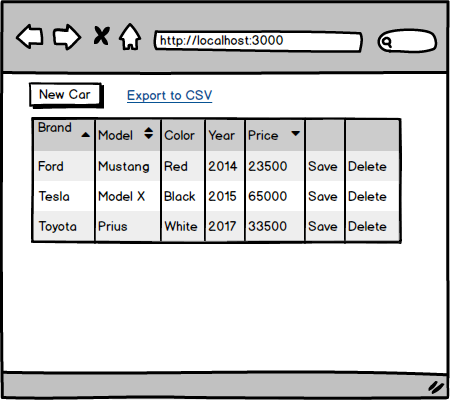
在本书的前几章中,我们创建了一个提供REST API 的汽车数据库后端。现在是时候开始为我们的应用程序构建前端了。我们将创建一个从数据库中列出汽车并提供分页、排序和过滤的前端。有一个按钮可以打开模式表单以将新车添加到数据库中。在汽车表的每一行中,都有一个用于从数据库中删除汽车的按钮。表格行也是可编辑的,并且可以通过单击行中的保存按钮将修改保存到数据库中。前端包含一个链接或按钮,用于将数据从表导出到 CSV 文件。
让我们从我们的用户界面创建一个模型。有许多不同的应用程序可用于创建模型,或者您甚至可以使用铅笔和纸。您还可以创建交互式模型来演示某些功能。如果您已经完成了模型,那么在开始编写任何实际代码之前与客户讨论需求会容易得多。通过模型,客户也更容易理解前端的想法并对其产生影响。与使用真正的前端源代码进行修改相比,对模型的更改非常容易且快速。
以下屏幕截图显示了我们的汽车列表前端的模型:
当用户按下 New Car 按钮时打开的模态表单如下所示:

我们正在使用我们后端的不安全版本开始前端开发。在第一阶段,我们实现所有 CRUD 功能并测试它们是否正常工作。在第二阶段,我们在后端启用安全性并进行所需的修改,最后我们实现身份验证。
使用我们在 Chapter 4 中创建的 Eclipse 打开 Spring Boot 应用程序,Securing and测试你的后端。打开定义 Spring Security 配置的SecurityConfig.java 文件。暂时注释掉当前配置,让每个人都可以访问所有端点。请参阅以下修改:
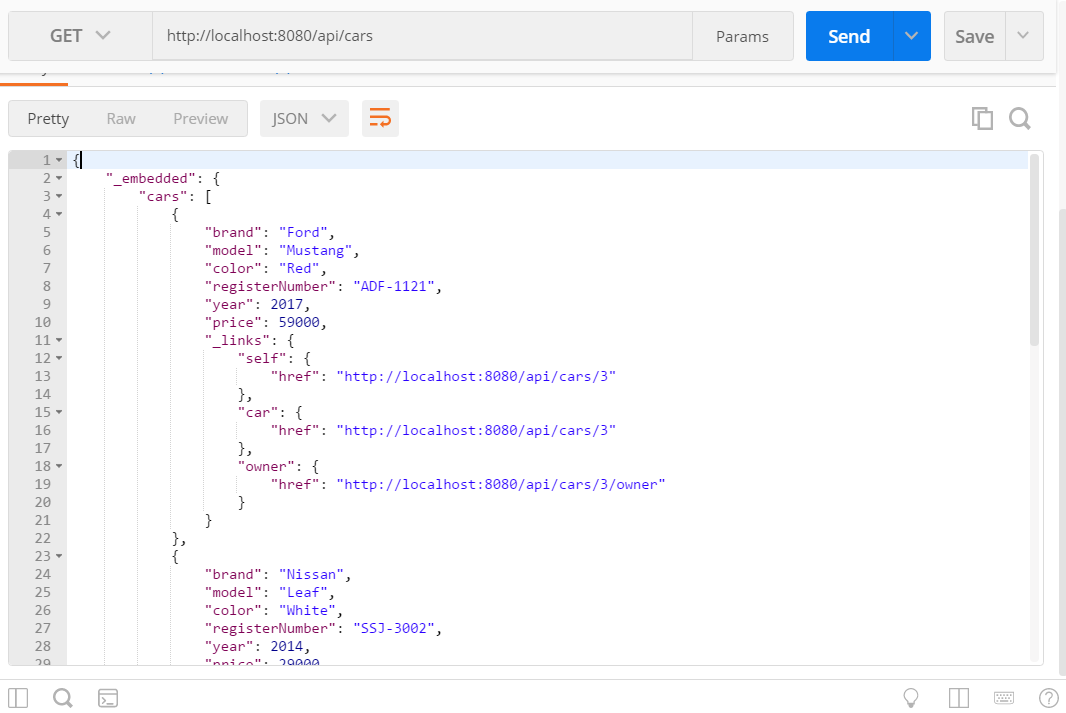
现在,如果您运行后端并使用 Postman 测试 http:/localhost:8080/api/cars 端点,您应该在响应中获得所有汽车,如以下屏幕截图:
在我们开始 coding 前端之前,我们必须创建一个新的 React 应用程序:
- Open the PowerShell or any other suitable terminal. Create a new React app by typing the following command:
- Run the app by typing the following command:
或者,如果您使用的是 Yarn,请输入以下内容:
- Open the
appfolder with VS Code, remove any extra code, and change the header text from theApp.jsfile. After the modifications, yourApp.jsfile source code should look as follows:
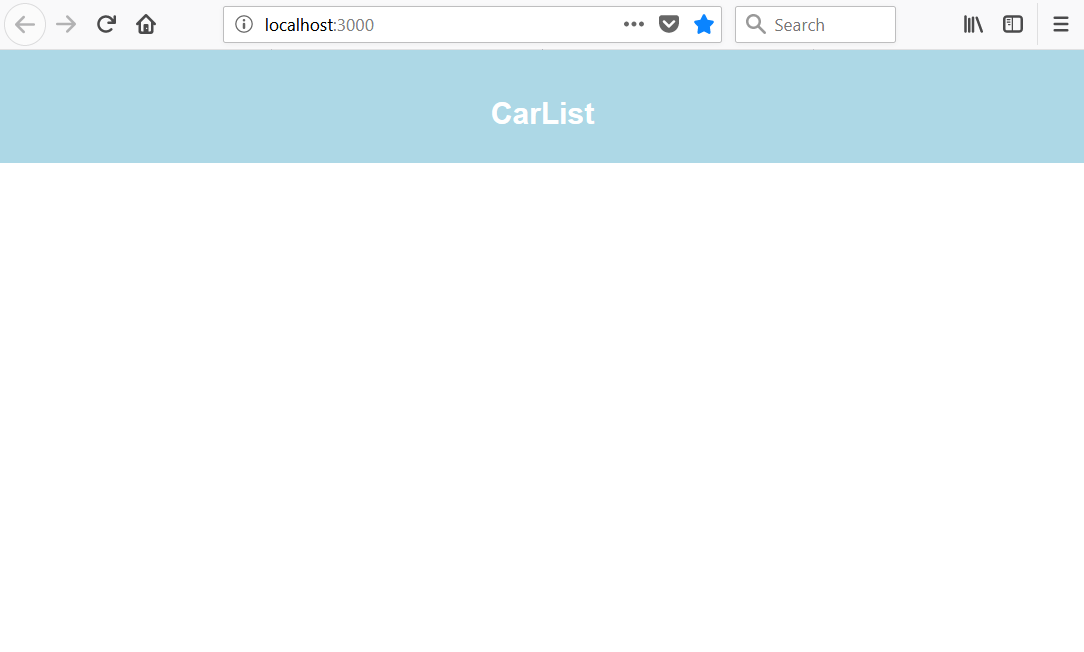
- Let's also decrease the header height and change the color to
lightblue. Open theApp.cssfile where you can find stylings of theApp.jsfile. Decrease the header height from 150 to 50 and change the color tolightblue:
现在您的前端起点应如下所示:
在本章中,我们开始了前端的开发,使用我们在 Chapter 4 中创建的后端,保护和测试您的后端。我们定义了前端的功能并创建了用户界面的模型。我们从后端的不安全版本开始前端开发,因此,我们对 Spring Security 配置类进行了一些修改。我们还创建了将在开发过程中使用的 React 应用程序。 在下一章中,我们将开始向前端添加 CRUD 功能。
Packt 还有其他学习 React 的好资源: