读书笔记《developing-java-applications-with-spring-and-spring-boot-ebook》Web框架行为调整
在第 21 章中,配置 Web 应用程序,我们探索了如何在 Spring Boot 中使用我们的自定义过滤器、拦截器等配置 Web 应用程序。我们将继续通过进行行为调整、配置自定义路由规则和模式、添加额外的静态资产路径、添加和修改 servlet 容器连接器以及其他属性(例如启用 SSL)来进一步增强我们的 Web 应用程序。
当我们构建 Web 应用程序时,并不总是适用默认的开箱即用映射配置.有时,我们希望创建包含诸如 dot (.) 等字符的 RESTful URL,Spring 将其视为分隔符定义格式,如 path.xml;或者我们可能不想识别尾部斜杠,等等。方便的是,Spring 为我们提供了一种轻松完成此任务的方法。
在第 21 章中,配置 Web 应用程序,我们引入了一个WebConfiguration类,它继承自WebMvcConfigurerAdapter。此扩展允许我们覆盖旨在添加过滤器、格式化程序等的方法。它还具有可以被覆盖的方法,以便配置路径匹配等。
让我们假设 ISBN 格式确实允许使用点将书号与修订版分开,其模式类似于 [isbn-number].[revision]。
我们将配置我们的 application 不使用 .* 并且在解析参数时不去除点后面的值。让我们执行以下步骤:
- Let's add the necessary configuration to our
WebConfigurationclass with the following content:
- Start the application by running
./gradlew clean bootRun.
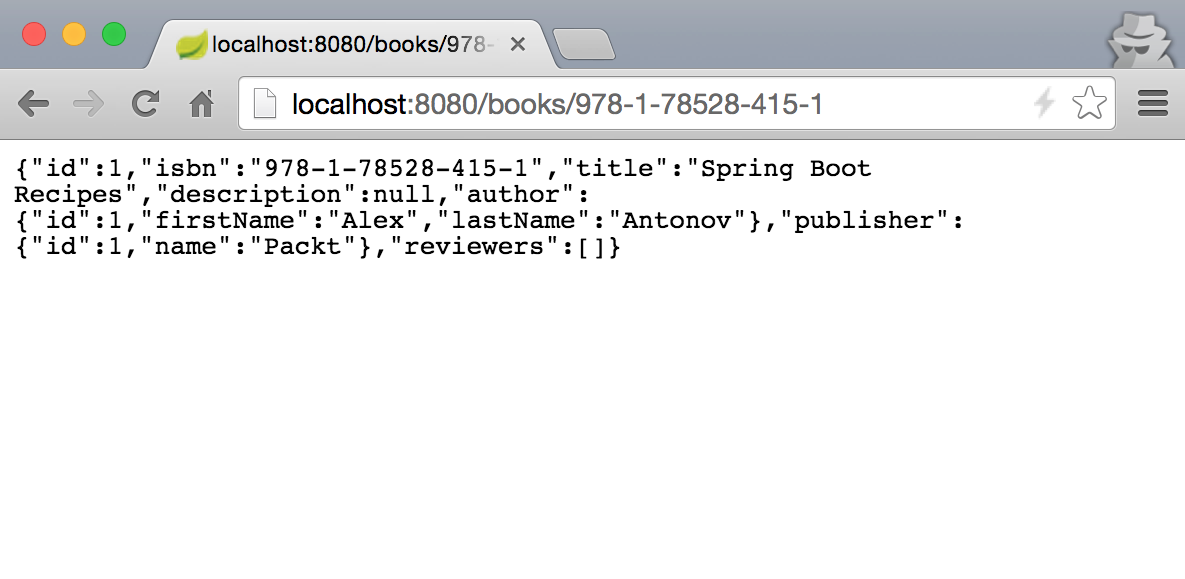
- Let's open
http://localhost:8080/books/978-1-78528-415-1.1in the browser to see the following results:
让我们看看我们做了什么。 configurePathMatch(PathMatchConfigurer configurer) 方法使我们能够设置我们自己的行为,即我们希望 Spring 如何将请求 URL 路径与控制器参数匹配:
configurer.setUseSuffixPatternMatch(false): This method indicates that we don't want to use the.*suffix, so as to strip the trailing characters after the last dot. This means that Spring parses out the entire978-1-78528-415-1.1ISBN as an{isbn}parameter forBookController. So,http://localhost:8080/books/978-1-78528-415-1.1andhttp://localhost:8080/books/978-1-78528-415-1will become different URLs.configurer.setUseTrailingSlashMatch(true): This method indicates that we want to use the trailing/symbol in the URL as a match as if it were not there. This effectively makeshttp://localhost:8080/books/978-1-78528-415-1the same ashttp://localhost:8080/books/978-1-78528-415-1/.
如果您想进一步配置路径匹配的发生方式,您可以提供自己的 PathMatcher 和 UrlPathHelper 实现,但这些在最极端和量身定制的情况下是必需的,通常不推荐使用。
在前面的秘籍中,我们研究了如何调整请求的URL路径映射并将它们转换为控制器方法。还可以控制我们的 Web 应用程序如何处理静态资产和文件系统上存在的文件或捆绑在可部署存档中的文件。
假设我们想通过 http://localhost:8080/internal/application 的静态 Web URL 公开我们的内部 来自我们的应用程序。要开始此操作,请继续执行下一节中的步骤。application.properties 文件.properties
- Let's add a new method,
addResourceHandlers, to theWebConfigurationclass with the following content:
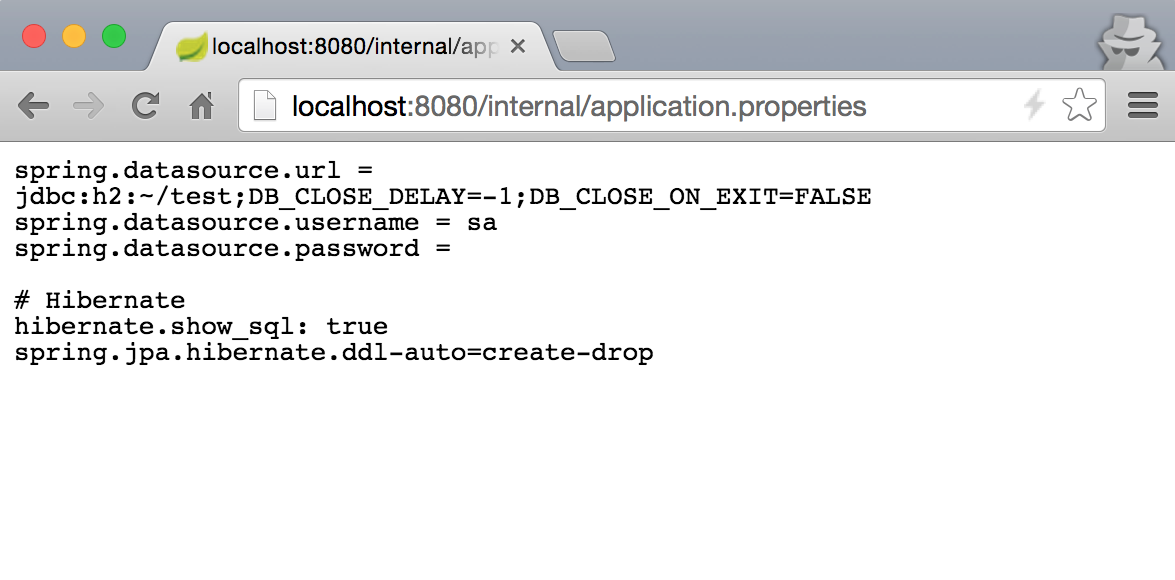
我们覆盖的方法 addResourceHandlers(ResourceHandlerRegistry registry) 是 WebMvcConfigurer 中的另一个配置方法,它使我们能够定义静态资源 URL 的自定义映射,并将它们与文件系统或 application 类路径上的资源连接起来。在我们的例子中,我们定义了通过 / internal URL 访问的任何内容的映射,以便在 classpath:/< /code> 我们应用程序的路径(对于生产环境,您可能不想将整个类路径公开为静态资源!)。
那么我们来详细看看我们做了什么,如下:
- The
registry.addResourceHandler("/internal/**")method adds a resource handler to the registry to handle our static resources, and returnsResourceHandlerRegistrationto us, which can be used to further configure the mapping in a chained fashion. The/internal/**is a path pattern that will be used to match against the request URL usingPathMatcher. We have seen howPathMatchercan be configured in the previous example, but by default anAntPathMatcherimplementation is used. We can configure more than one URL pattern to be matched to a particular resource location. - The
addResourceLocations("classpath:/")method is called on the newly created instance ofResourceHandlerRegistration, and it defines the directories where the resources should be loaded from. These should be valid filesystems or classpath directories, and more than one can be entered. If multiple locations are provided, they will be checked in the order in which they were entered.
我们还可以使用 setCachePeriod(Integer cachePeriod) 方法为给定资源配置缓存间隔。
Spring Boot 公开了许多 可用于配置 诸如 PORT、SSL 等,只需在 application.properties 中设置值即可。但是,如果我们需要进行更复杂的调优,Spring Boot 为我们提供了一个 ServletWebServerFactory 接口来以编程方式定义我们的配置。
即使会话超时可以通过将 application.properties 中的 server.session.timeout 属性设置为我们想要的值来轻松配置几秒钟后,我们将使用 ServletWebServerFactory 来演示它是如何完成的。
- Let's say that we want our session to be for one minute. To make this happen, we will ad a
ServletWebServerFactorybean to ourWebConfigurationclass with the following content:
- Just for the purpose of demonstration, we will get the session from the request to force its creation. To do this, we will add a new request mapping to our
BookControllerclass with the following content:
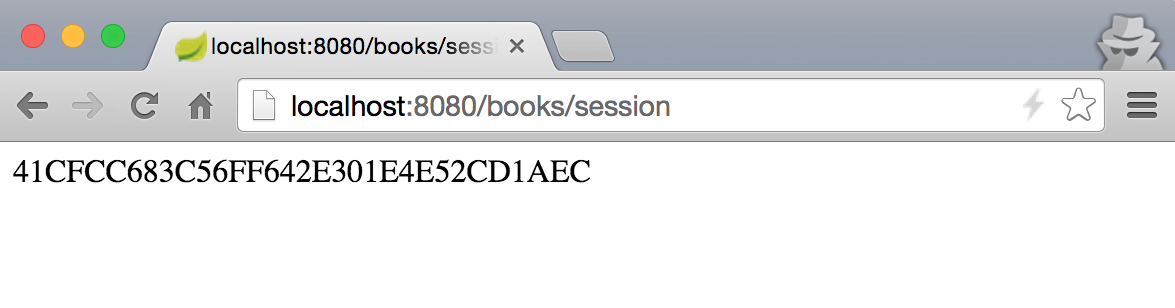
如果我们等待超过一分钟然后重新加载此页面,会话 ID 将更改为另一个。
ServletWebServerFactory 接口定义了 WebServer getWebServer(ServletContextInitializer... initializers) 方法。开箱即用,Spring Boot 为 TomcatServletWebServerFactory、JettyServletWebServerFactory 和 提供了具体的工厂实现UndertowServletWebServerFactory 应用服务器。由于我们在示例中使用 Tomcat,因此我们将使用提供的 TomcatServletWebServerFactory 类来配置会话的行为。
在 application 启动期间,Spring Boot 自动配置检测到 presence 并调用 getWebServer(...) 方法,将引用传递给 的集合ServletContextInitializer bean。通常,这些初始化程序是由 Spring Boot 在内部创建和管理的,但我们总是可以创建一些自定义的 ServletContextInitializer bean 来添加应该在应用程序的启动生命周期中执行的自定义行为服务器。
如果我们决定使用 Jetty 作为我们的 servlet 容器,我们需要在我们的 构建 文件。
- As Tomcat already comes as a transitive dependency of Spring Boot, we will need to exclude it from our
builddependency tree by adding the following tobuild.gradle:
- We will also need to add a
compiledependency to ourbuilddependencies on Jetty:
- To fix the compiler errors, we will need to remove the bean declaration of Tomcat's
RemoteIpFilterfrom ourWebConfigurationclass, as the Tomcat dependency has been removed. - Start the application by running
./gradlew clean bootRun - If we now look at the console logs, we will see that our application is running in Jetty:
这个工作的原因是Spring Boot的自动配置魔法。我们必须从 build 文件中删除 Tomcat 依赖项,以防止 Tomcat 和 Jetty 之间的依赖项冲突。 Spring Boot 对类路径中的类进行条件扫描,并根据检测到的内容确定将使用哪个 servlet 容器。
如果我们查看 ServletWebServerFactoryAutoConfiguration 类,我们将看到以下条件代码来检查这一点:
@ConditionalOnClass 注释告诉 Spring Boot 仅使用 EmbeddedJetty 配置,如果 Jetty 的类,即 org.eclipse.jetty.server.Server 和 org.eclipse.jetty.util.Loader 存在于类路径中。
企业应用程序开发和部署中另一个非常常见 场景是使用两个独立的HTTP端口连接器运行应用程序:一个用于HTTP另一个用于 HTTPS
我们将从使用 Tomcat 开始;所以对于这个秘籍,我们将撤消我们在前一个示例中实现的更改。
为了创建一个 HTTPS 连接器,我们需要一些东西;但最重要的是,我们需要生成证书密钥库,用于加密和解密与浏览器的 SSL 通信。
如果您使用的是 Unix 或 macOS,则可以通过运行以下命令来完成:
在 Windows 上,这可以通过以下命令实现:
在创建密钥库期间,您应该输入适合您的信息,包括密码、名称等。就本书而言,我们将使用默认密码:changeit。执行完成后,一个新生成的密钥库文件将出现在您的 home 目录中,名称为:密钥库。
密钥库创建完成后,我们需要创建一个单独的properties文件以存储我们对 HTTPS 连接器的配置,例如端口。之后,我们将创建一个配置属性绑定对象并使用它来配置我们的新连接器。执行以下步骤:
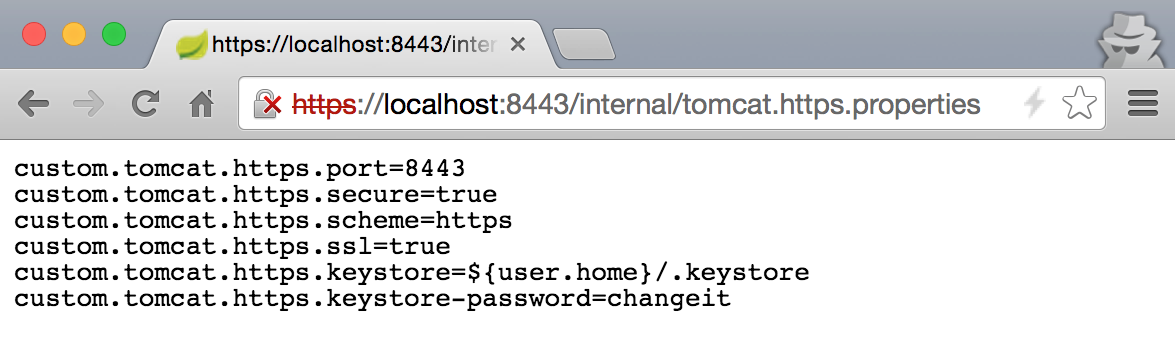
- First, we will create a new properties file named
tomcat.https.propertiesin thesrc/main/resourcesdirectory from the root of our project with the following content:
- Next, we will create a nested static class named
TomcatSslConnectorPropertiesin ourWebConfigurationclass with the following content:
- Now, we will need to add our newly created
tomcat.http.propertiesfile as a Spring Boot property source and enableTomcatSslConnectorPropertiesto be bound. This can be done by adding the following code right prior to the class declaration of theWebConfigurationclass:
- Start the application by running
./gradlew clean bootRun.
- Let's open
https://localhost:8443/internal/tomcat.https.propertiesin the browser to see the following results:
在这个食谱中,我们做了很多事情;所以让我们一次分解一个变化。
第一个更改是创建tomcat.https.properties和TomcatSslConnectorProperties对象,忽略创建密钥库的需要将它们绑定到。之前,我们已经在配置数据源时处理了对 application.properties 中的各种设置进行更改。不过,那时我们不必创建任何绑定对象,因为 Spring Boot 已经定义了它们。
正如我们前面所了解的,Spring Boot 已经公开了 很多属性来配置应用程序的设置,包括一整套设置< code class="literal">server 部分。这些值绑定到 internal Spring Boot 类:ServerProperties
Note
常见应用程序属性的完整列表可以在 Spring Boot 参考文档中找到 http://docs.spring.io/spring-boot/docs/current/reference/html/common-application-properties.html 。
我们对添加所做的只是模仿 Spring Boot 并创建我们自己的配置组,并在其后面添加一个绑定对象。我们没有使用已经存在的 server.tomcat. 前缀,而是选择 custom.tomcat 的原因是主要是需要将我们的配置值与默认值分开。由于我们要添加第二个连接器,我们希望在默认配置属性和我们的自定义属性之间有一个清晰的分离。
@ConfigurationProperties(prefix = "custom.tomcat.https") 方法是我们的 TomcatSslConnectorProperties 对象的重要注解。它告诉 Spring Boot 自动将带有 custom.tomcat.https 前缀的属性绑定到 TomcatSslConnectorProperties 中声明的字段。为了进行绑定——除了定义类中的字段——定义getter和setter也很重要。还值得一提的是,在绑定过程中,Spring 会自动尝试将属性值转换为相应的数据类型。例如,custom.tomcat.https.keystore 的值会自动绑定到私有文件密钥库字段对象。
下一步是告诉 Spring Boot 将 tomcat.https.properties 中定义的属性包含在属性列表中。这是通过在 @Configuration 旁边添加 @PropertySource("classpath:/tomcat.https.properties") 来实现的code class="literal">WebConfiguration 类。
导入值后,我们需要告诉 Spring Boot 自动创建一个 TomcatSslConnectorProperties 的实例供我们使用。这是通过在 @Configuration 旁边添加以下注释来完成的:
这将指示 Spring Boot 自动 创建一个 TomcatSslConnectorProperties 类型的 bean 和将其与指定的 classpath:/tomcat.https.properties 文件中的值绑定。这个 bean 稍后可以用于自动装配到不同的地方,例如当我们创建一个 ServletWebServerFactory bean 时。
在设置并完成所有属性支持后,我们将继续使用实际代码创建第二个连接器。 ServletWebServerFactory bean 的创建为 Spring Boot 提供了一个工厂以用于创建 WebServer。我们添加到 TomcatSslConnectorProperties 中的方便的 configureConnector(Connector connector) 方法为我们提供了一个封装和整合所有配置新创建的 Connector 实例所需的设置。